How to enable Hyper-V on windows 11 Pro
Emulate different operating systems on windows 11 pro using Hyper-V
Hyper-v is a virtualization software built by Microsoft. It enable users to emulate different operating systems in the same PC. There are two type of Hyper-V available. Hyper-V bare metal and Hosted Hyper-V . Both have their use case.
Hyper-V bare metal runs directly on the servers/PC hardware as the primary OS where as hosted Hyper-V runs on top of windows operating system. In our case windows 11.
Operating systems that run on Hyper-V are usually isolated and operate as independent OS.
Enable Virtualization
Hyper-V requires virtualization enabled in order for it to work. Most newer PC come with virtualization support.
To enable virtualization :
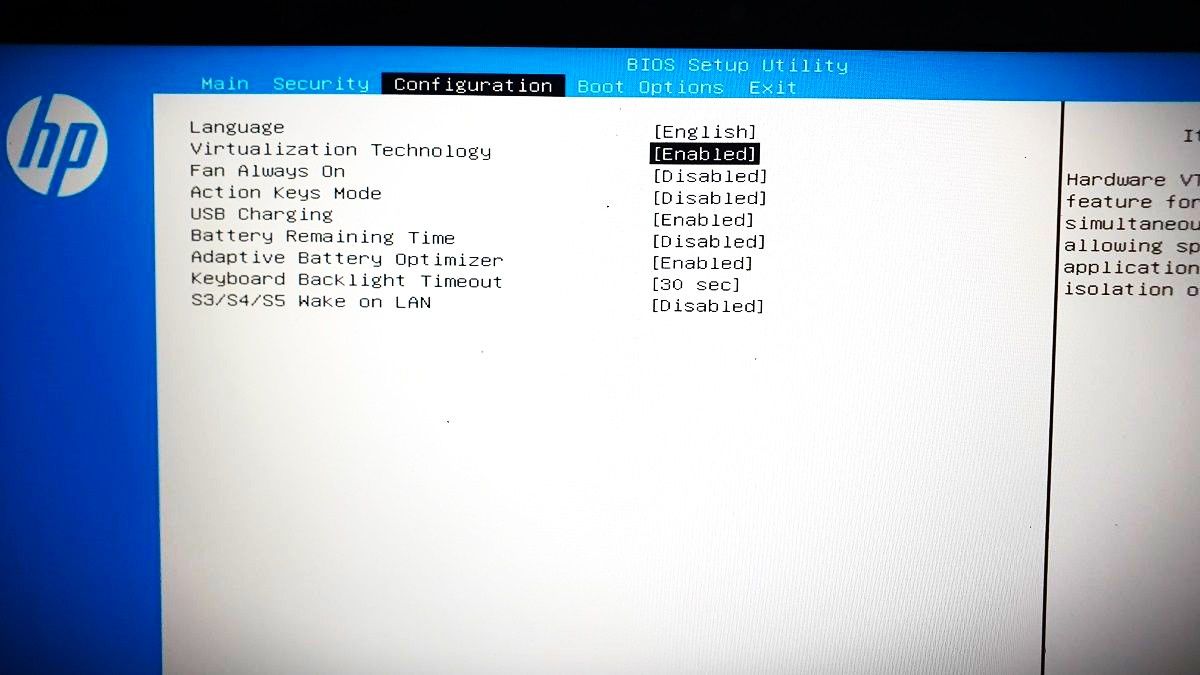
Enabling Hyper-V on Windows Features
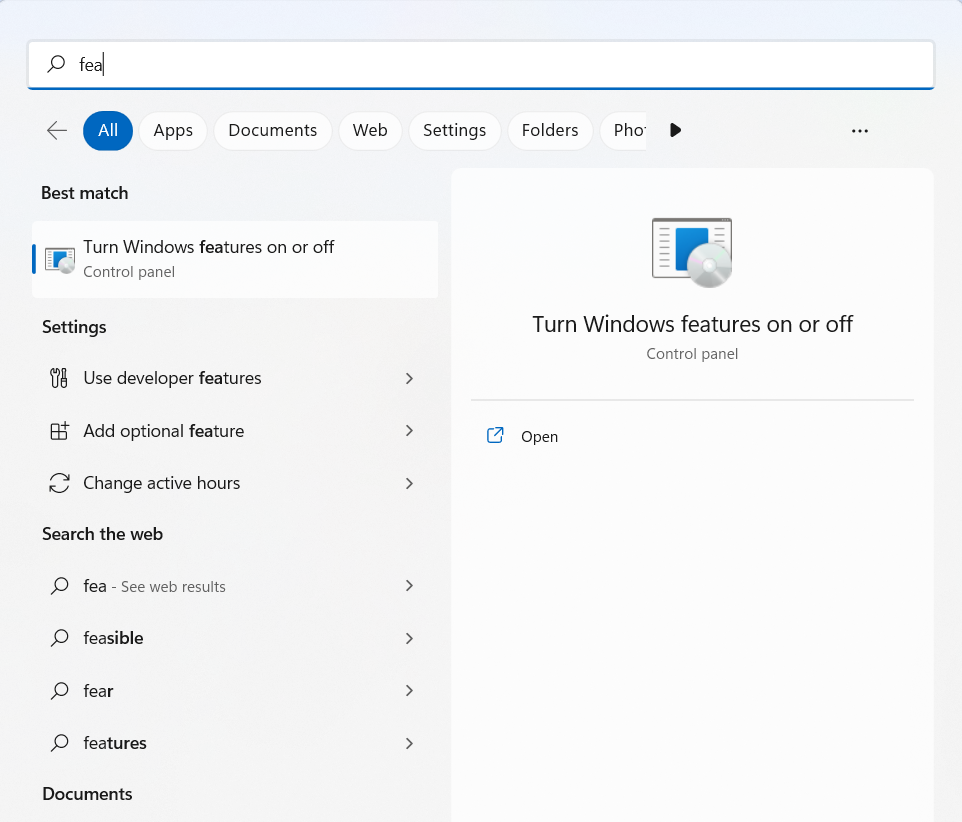
Now that virtualization is enabled. The next step is enabling Hyper-V on windows 11.Windows 11 does not come with Hyper-V enabled by default. Hyper-V is usually patched as a windows feature on windows 11. If you ever need it you have to enable it otherwise its usually disabled.
Navigate to > Turn Windows features on or off
In windows 11 features enable two features in order for Hyper-V to work.
- Hyper- V
- Windows Hypervisor Platform
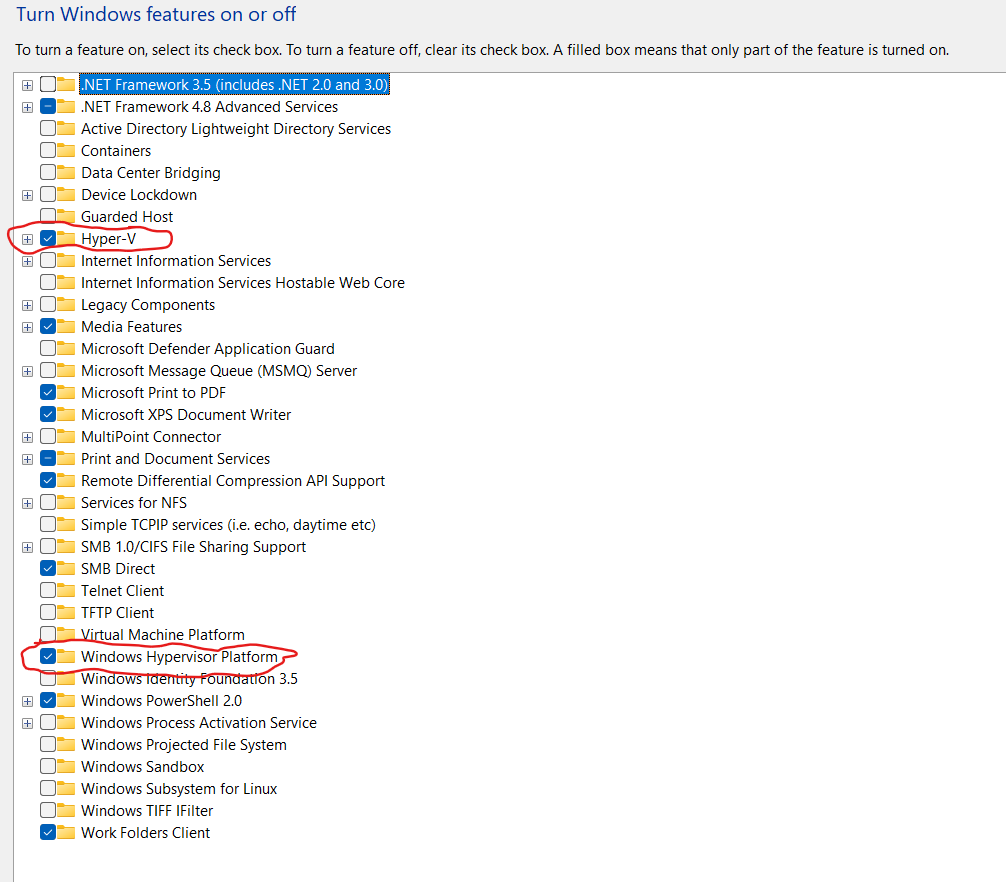
With the two features enabled Hyper-V Manager should now pop up when you try so search "Hyper-V".
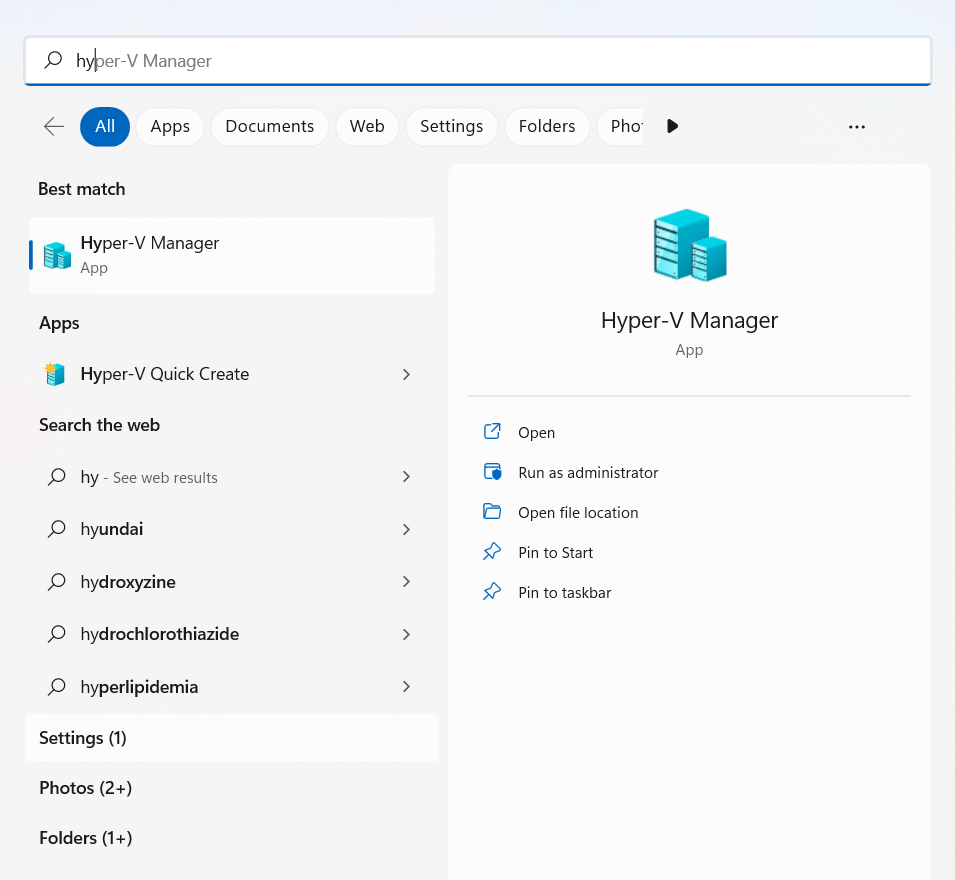
Use Hyper-V Quick Create to quickly install a virtual machine. If you don't like the options provided by Hyper-V Quick Create, select _Local installation source or use the Hyper-V Manager to install an OS of your choice. You will be required to have an ISO file of the operating system you want to install. Most Operating Systems are supported by Hyper-V.