Auto Deploying Python PyPI Package with Gitlab CI/CD Simplified.
Python Package Index abbreviated as "PyPI" is a third-party software repository for python.

Python is a great tool for the automation of tasks, web development, IoT, AI, robotics, and several other fields.
It’s among the top 5 most-used programming languages in the world. The reason for the popularity of Python is because of the general approach of Python which emphasizes code readability and the thousands of Python packages available.
It makes sense to understand how to create your package, this way you can share your codes with the world or even contribute your codes to open-source packages that have been essential in your programming journey.
Python Package Index abbreviated as "PyPI" is a third-party software repository for Python. Anyone with the might and will can publish their packages on PyPi which anyone in the world can install and use.
Creating Package Locally and Deploying to PyPI
Run the following command to upgrade pip and ensure you are using the latest pip package.
python3 -m pip install --upgrade pipupgrade pip
Structuring Your Project
We will be structuring our code as below.
packaging_tutorial/
├── LICENSE
├── pyproject.toml
├── README.md
├── setup.cfg
├── src/
│   └── example_package/
│       ├── __init__.py
│       └── example.py
└── tests/
The package __init__.py is required to import the directory as a package, and should be empty.
File: Example.py
This is where we write our Python module. In our case, the module does simple addition.
def add_one(number):
    return number + 1
Simple addition
File: pyproject. toml
This tells build tools pip and build what is required to build your project in our case we’ll use setuptools.
[build-system]
requires = [
    "setuptools>=42",
    "wheel"
]
build-backend = "setuptools.build_meta"
File: setup.cfg
This gives more information to setuptools about the package.
NB: Change the name to include your username; this ensures that you have a unique package name and that your package doesn’t conflict with packages uploaded by other people following this tutorial
[metadata]
name = example-pkg-YOUR-USERNAME-HERE
version = 0.0.1
author = Example Author
author_email = author@example.com
description = A small example package
long_description = file: README.md
long_description_content_type = text/markdown
url = https://github.com/pypa/sampleproject
project_urls =
    Bug Tracker = https://github.com/pypa/sampleproject/issues
classifiers =
    Programming Language :: Python :: 3
    License :: OSI Approved :: MIT License
    Operating System :: OS Independent

[options]
package_dir =
    = src
packages = find:
python_requires = >=3.6

[options.packages.find]
where = src
File: README
# Example Package

This is a simple example package. You can use
[Github-flavored Markdown](https://guides.github.com/features/mastering-markdown/)
to write your content.
File: LICENSE
Copyright (c) 2018 The Python Packaging Authority

Permission is hereby granted, free of charge, to any person obtaining a copy
of this software and associated documentation files (the "Software"), to deal
in the Software without restriction, including without limitation the rights
to use, copy, modify, merge, publish, distribute, sublicense, and/or sell
copies of the Software, and to permit persons to whom the Software is
furnished to do so, subject to the following conditions:

The above copyright notice and this permission notice shall be included in all
copies or substantial portions of the Software.

THE SOFTWARE IS PROVIDED "AS IS", WITHOUT WARRANTY OF ANY KIND, EXPRESS OR
IMPLIED, INCLUDING BUT NOT LIMITED TO THE WARRANTIES OF MERCHANTABILITY,
FITNESS FOR A PARTICULAR PURPOSE AND NONINFRINGEMENT. IN NO EVENT SHALL THE
AUTHORS OR COPYRIGHT HOLDERS BE LIABLE FOR ANY CLAIM, DAMAGES OR OTHER
LIABILITY, WHETHER IN AN ACTION OF CONTRACT, TORT OR OTHERWISE, ARISING FROM,
OUT OF OR IN CONNECTION WITH THE SOFTWARE OR THE USE OR OTHER DEALINGS IN THE
SOFTWARE.
Generating Distribution and Publishing Locally
You will need a PyPI account for this. So go ahead and create a PyPI account. https://pypi.org/ .
To securely upload your project, you’ll need a PyPI API token. Create one at https://pypi.org/manage/account/#api-tokens, setting the “Scope” to “Entire account”. Don’t close the page until you have copied and saved the token — you won’t see that token again.
Now run the following commands while inside your :
$ python3 -m pip install — upgrade build  // Upgrade PIP
$ python3 -m build  // Build distribution, will create dist folder
$ python3 -m pip install --upgrade twine // Install twine
$ python3 -m twine upload --repository pypi dist/* // Upload package
Test Package
Test the package by trying to install it.
pip install PackageNameAuto deploying on GitLab CI
Now that we know the process for manually deploying a package on PyPI the next task is automating deployment of code using GitLab CI.
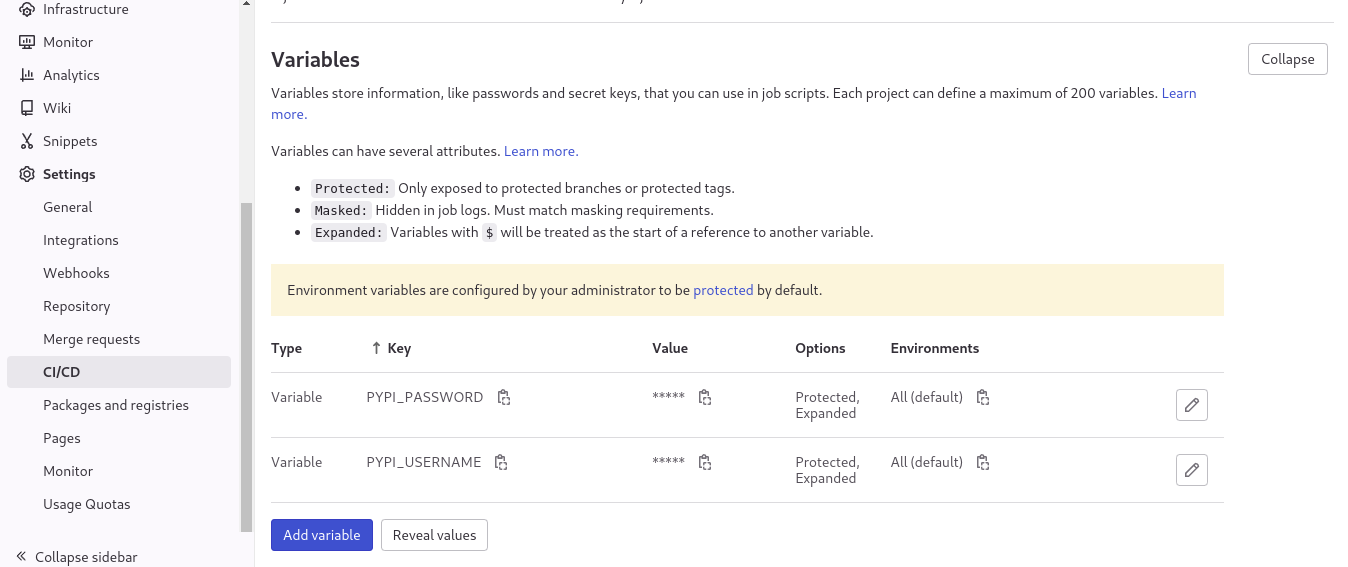
Navigate to your project settings under CI/CD, add to variables,PYPI_PASSWORD and PYPI_USERNAME. The value of the keys should be the PyPI password which is the token we created and your PyPI username respectively.
We are also required to protect the tags we will be using since we will be using tags to auto-deploy. Otherwise, our deployment will fail.
To do that Navigate to Settings>Repositories
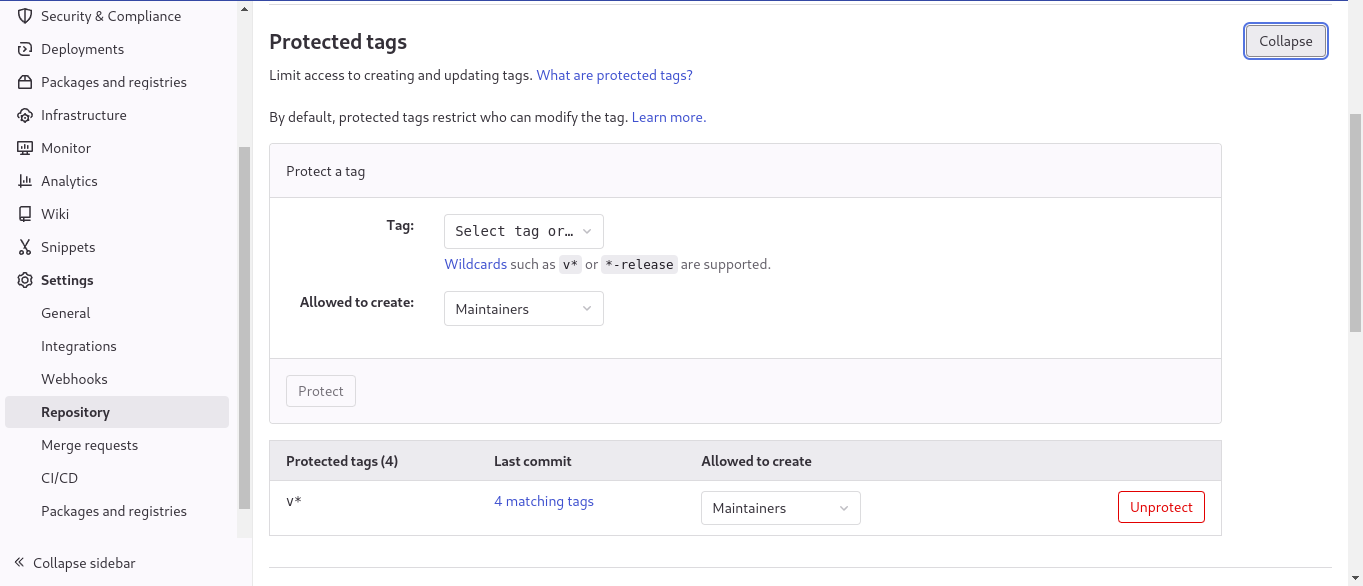
In this case, we protect v*. This implies tags that start with v will be run as protected and will be supplied with the variable we created. Tags that don't start with v will not be supplied with variables.
Crafting our CI/CD with .gitlab-ci.yml
We will let our GitLab auto-deploy our code however to do that we require .gitlab-ci.yml.
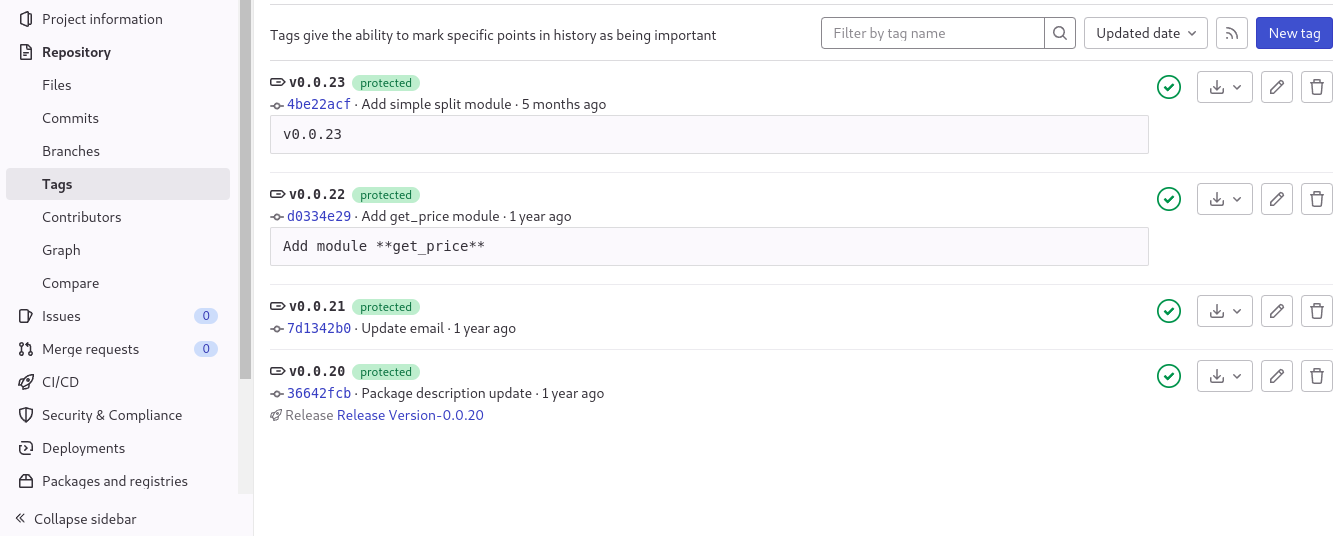
The main challenge we face during auto-deployment is the management of the project version. We sort this by only deploying when we tag the project version.
Go ahead and create it and add the following code:
build-package:
  stage: deploy
  image: python:3.7
  before_script:
    - python3 -m pip install --upgrade twine
    - python3 -m pip install --upgrade build
    - sed -i -e "s/v-latest/$CI_COMMIT_TAG/" setup.cfg
    - cat setup.cfg
  variables:
    TWINE_USERNAME: $PYPI_USERNAME
    TWINE_PASSWORD: $PYPI_PASSWORD
  script:
    - python3 -m build
    - python3 -m twine upload dist/*
  only:
    - tags
For the package version to be replaced with the version we want to release, we use sed command to replace v-latest with the version we specify in our tag. We are therefore required to change the version in setup.cfg from 0.0.1 to v-latest
[metadata]
name = example-pkg-YOUR-USERNAME-HERE
version = v-latest
author = Example Author
author_email = author@example.com
description = A small example package
long_description = file: README.md
long_description_content_type = text/markdown
url = https://github.com/pypa/sampleproject
project_urls =
    Bug Tracker = https://github.com/pypa/sampleproject/issues
classifiers =
    Programming Language :: Python :: 3
    License :: OSI Approved :: MIT License
    Operating System :: OS Independent

[options]
package_dir =
    = src
packages = find:
python_requires = >=3.6

[options.packages.find]
where = src
Conclusion
With the above codes, our project should automatically deploy every time we tag the project.